
Precisely tune audio levels with keyframes
Now you can add audio keyframes to your Scenery projects to precisely control audio levels through every moment of your video.
What are audio keyframes?
Before today, you’ve been able to fade audio in and out at the start and end of clips, and control the overall volume of the entire clip — but what if you have a specific moment or section within a clip where you want to raise or lower the volume?
Thanks to our introduction of audio keyframes in Scenery today, now you can. Audio keyframes solve these problems by letting you precisely adjust volume levels at different moments within the clip to perfect your audio.
Here are a couple of the most common reasons to use audio keyframes:
- Audio irregularities. Maybe there’s a short, loud noise in the background during an interview, or a moment where the mic gets too close to the speaker. Simply add keyframes to lower the volume for that moment and keep everything on an even keel.
- Fading background music and sounds. Or maybe you want to lower the volume of a background music track while a speaker’s audio is playing, then raise it back up once the speaker finishes. Now this problem is easily solved with audio keyframes.
How to create and adjust audio keyframes
Here are the four main things you need to learn to work with audio keyframes in Scenery:
- Zooming in on audio clips
- Adding keyframes
- Adjusting keyframes
- Removing keyframes
Zooming in on audio clips
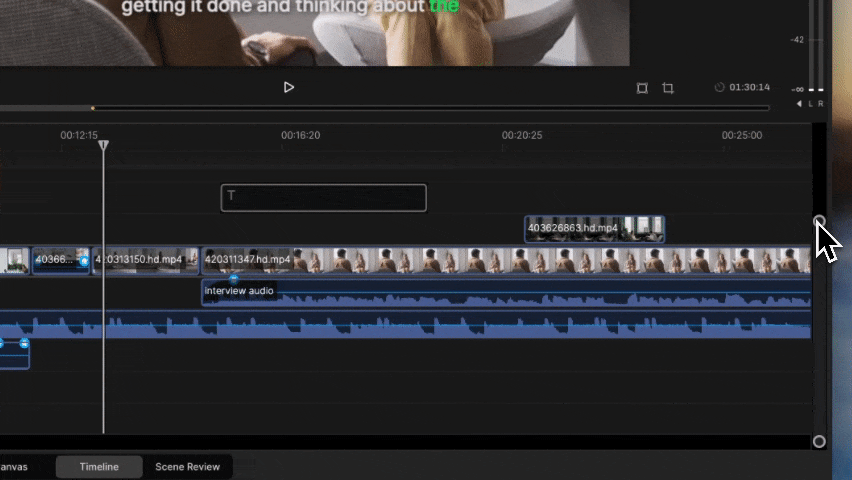
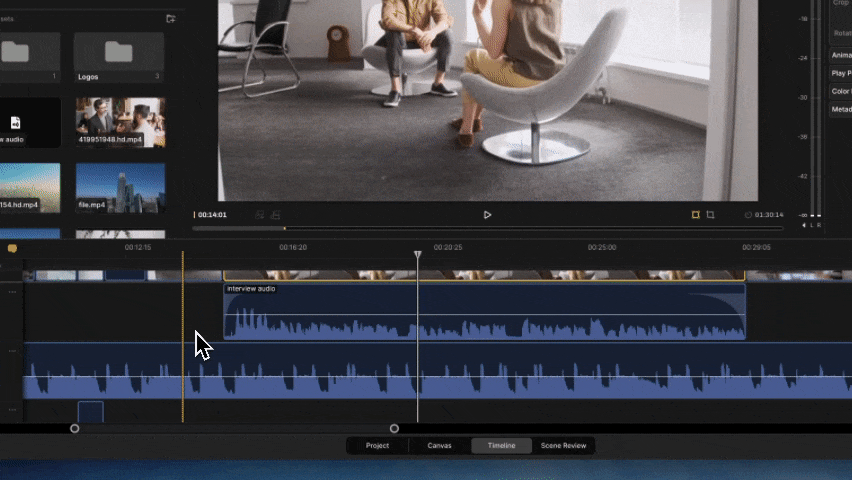
Keyframing audio is a process of fine tuning — and in order to get precise, you’ll need to zoom in on the audio clip you want to work with. To zoom in, adjust the Timeline’s vertical scale with the right-hand slider or hold SHIFT and zoom in and out with the + and - keys. (See all our keyboard shortcuts. There’s a ton.)
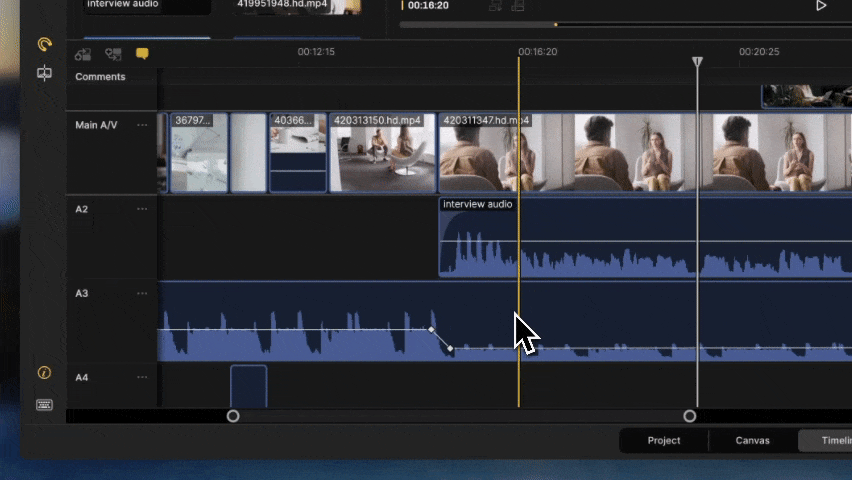
Adding a keyframe
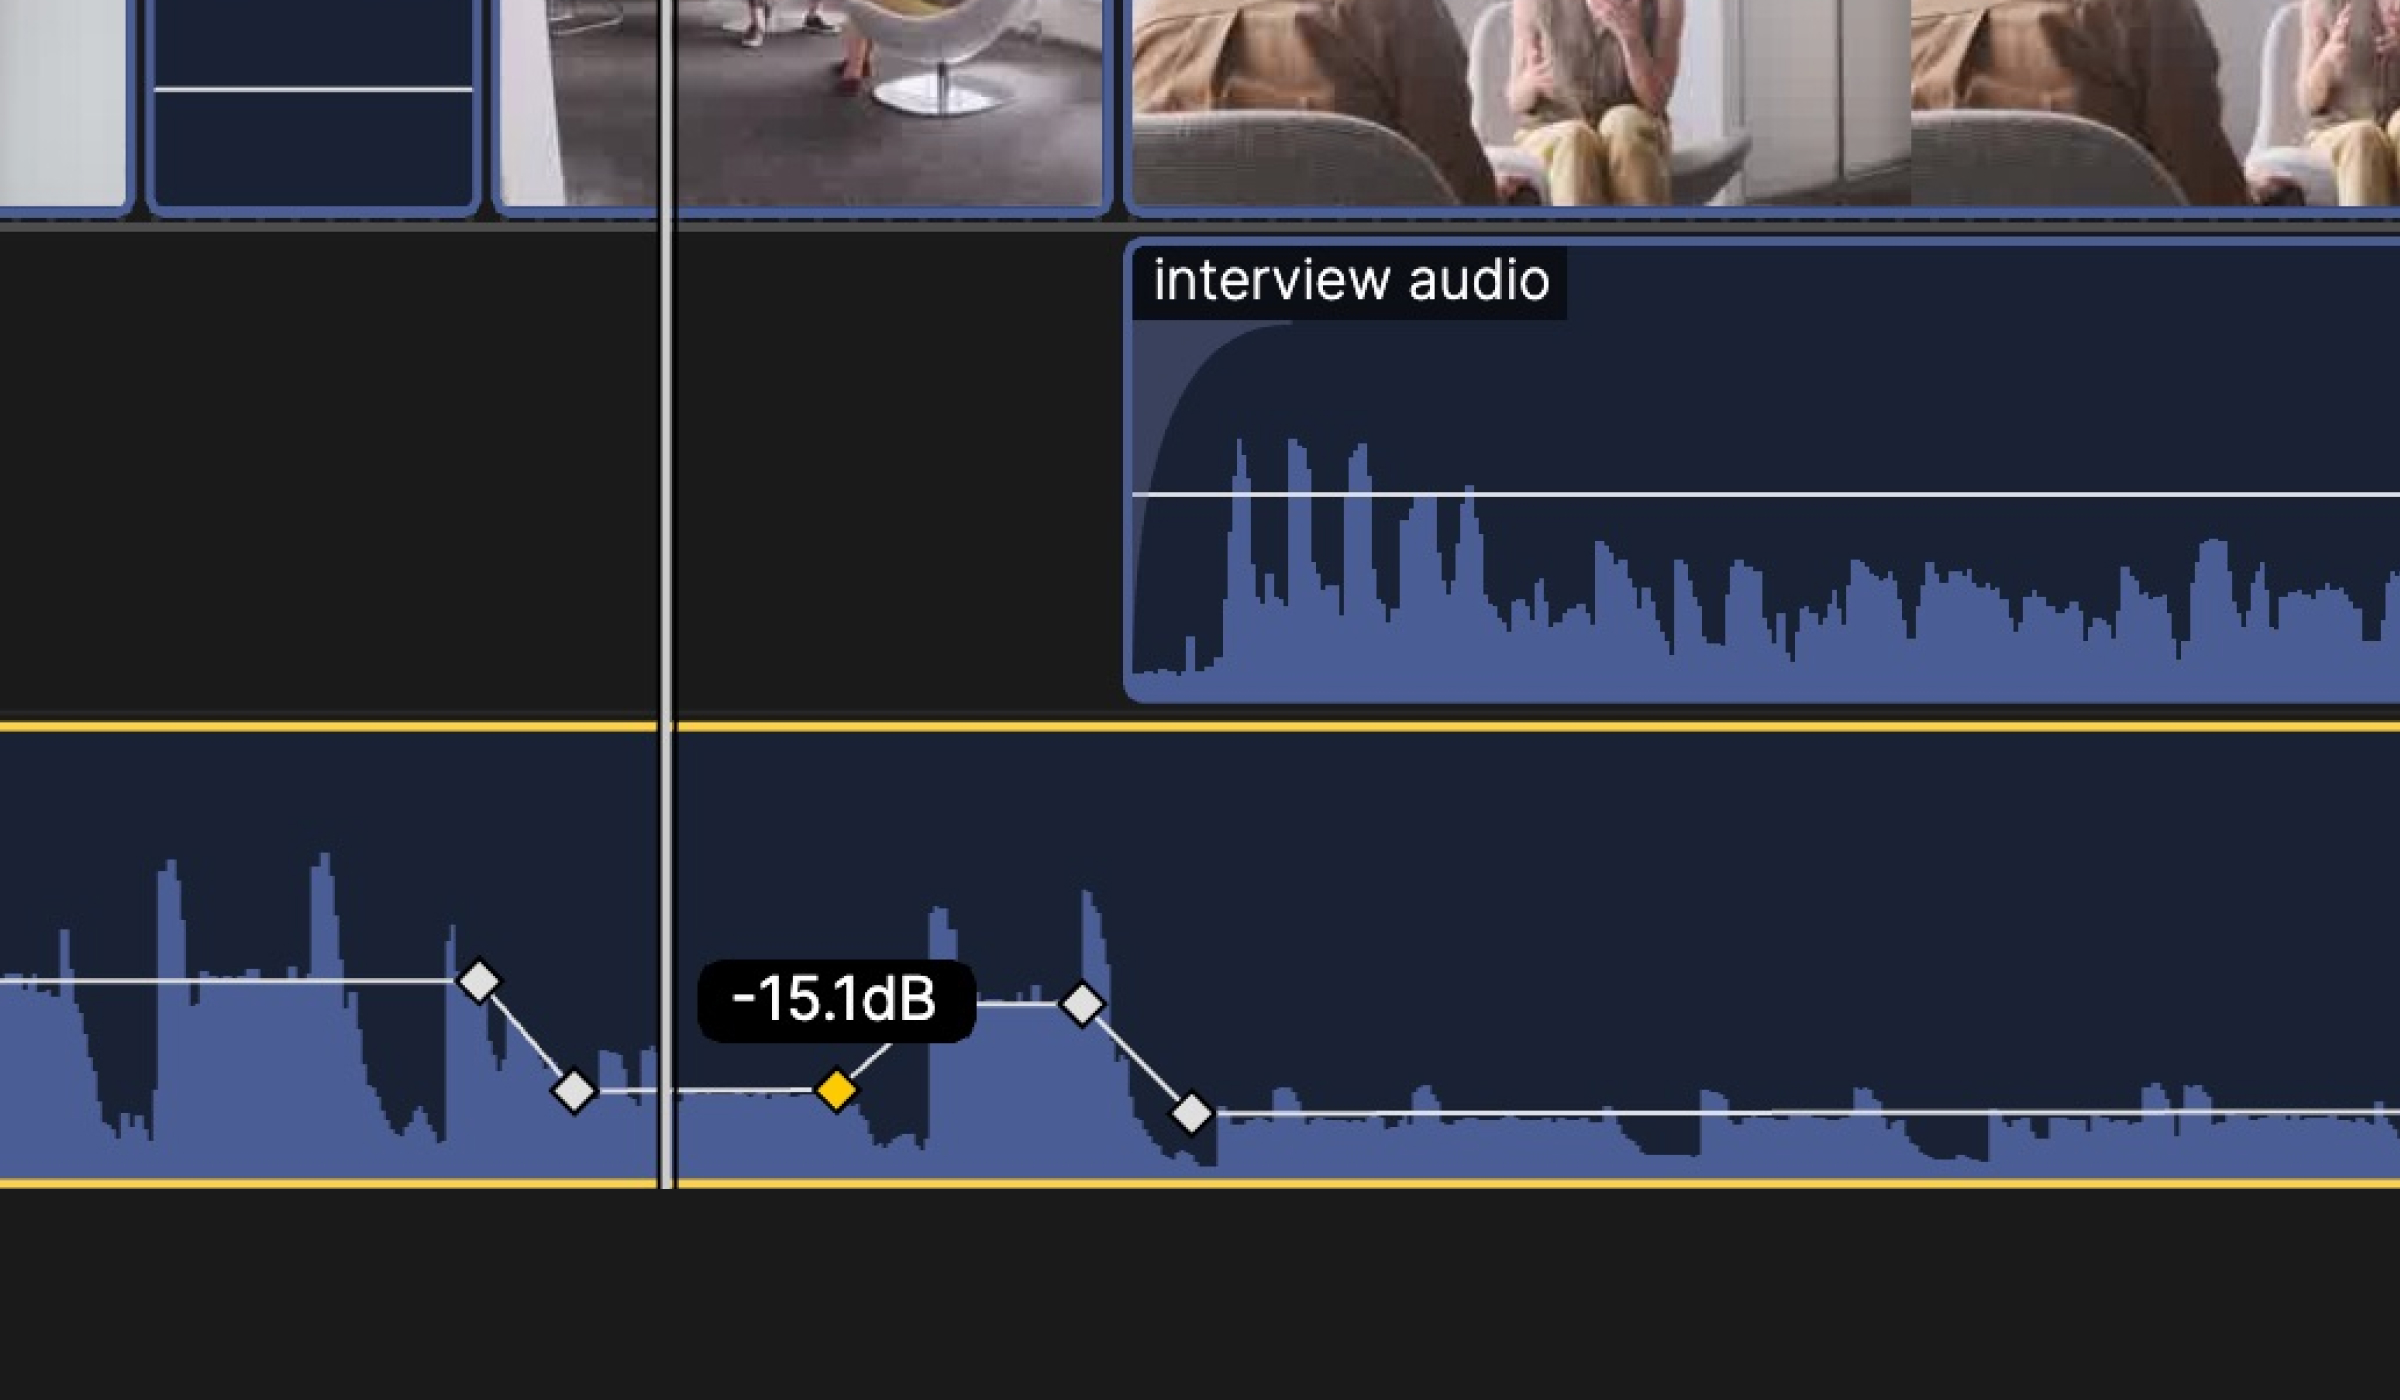
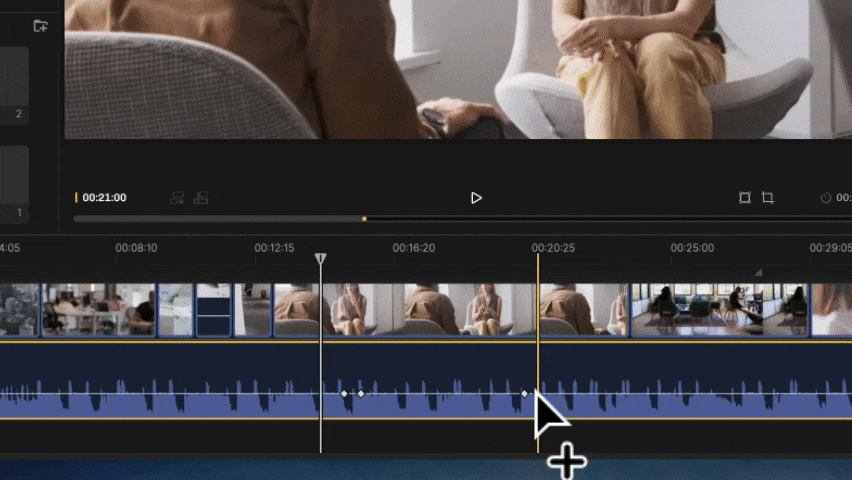
To add a keyframe, select the audio clip you want to tweak, then hold ALT/OPTION and click on the volume line in the spot you want to place a keyframe. As you hover, you’ll see a plus sign cursor indicating you will add a keyframe.
Once you’ve added a keyframe, you’ll see a small diamond on the volume line indicating where it is.
Adjusting keyframes
Adjusting keyframes is the fun part. Simply click and drag to move keyframes up, down, left, and right. Go wild. As you move keyframes, neighboring keyframes will not be impacted.
Removing keyframes
If you want to remove keyframes, there are two ways to do it:
- OPTION + CLICK a keyframe to remove it
- Right click on the volume clip and select “Clear Audio Keyframes” to get rid of all of them
What’s next
We’re looking forward to your feedback as we consider future improvements to audio keyframes, but in the immediate term, here are a couple additional enhancements we’re working on:
- Multi-select keyframes to drag and adjust more than one keyframe at a time
- Optimizations for ducking a range of audio
- and more…
If you’ve got additional changes you’d like to see, join us in Slack and let us know or shoot us an email at contact@scenery.video. We’d love to hear your feedback.
